
A visit to the Leslieville Farmers’ Market inspired me to make this plum cake for Rosh Hashanah. At the market I bought a basket of purple onions, purple potatoes, purple cabbage and purple plums. I just read that purple fruits and veggies are good for you; so that means so is this cake!
Our Rosh Hashanah dinner begins with apples dipped in honey, chicken soup, matzah ball, brisket, fish, kugel, and on and on...what would a Jewish holiday be without a table full of food? So by the time we get to dessert we are stuffed. When I serve this cake I tell my family that it is a healthy cake; and I really mean it! It is gluten-free and sweetened with just a bit of honey, a perfectly sweet way to end Rosh Hashanah dinner. Have a healthy holiday, Shana Tova.
And don't forget to try some of my other holiday recipes...
Macaroons
Romanian Eggplant Salad
This is my Great-Grandmother Gefilte Fish
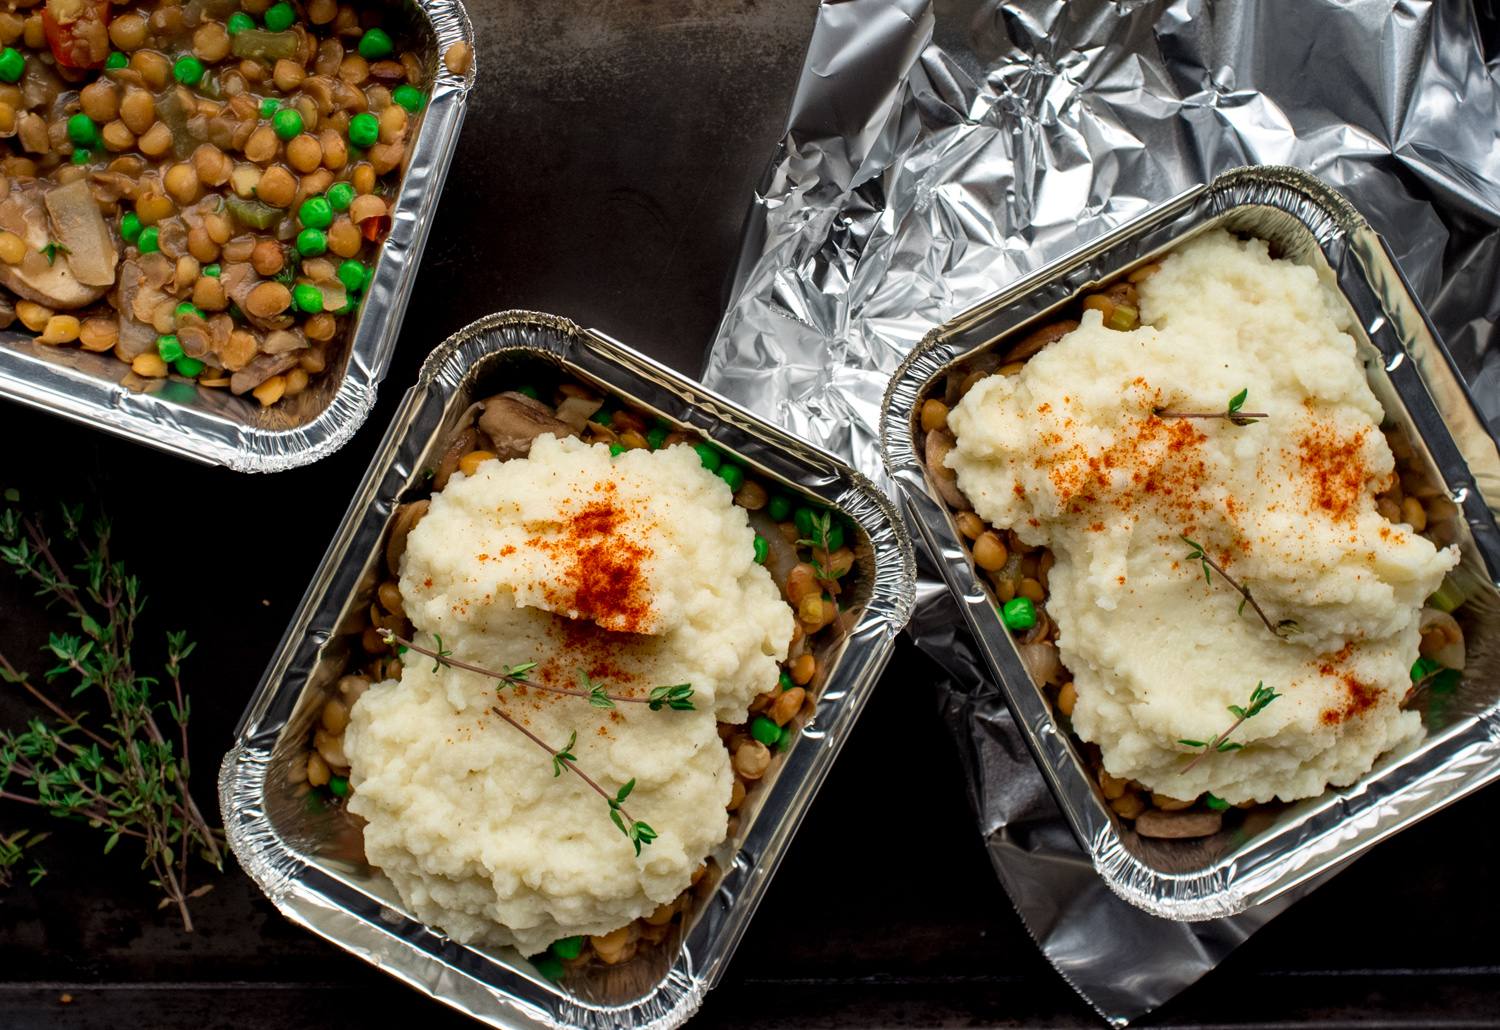
My Mother's Potato Kugel
My Favourite Chicken Soup
Latkes From My Mother's Kitchen
Challah, Jewish Egg Bread
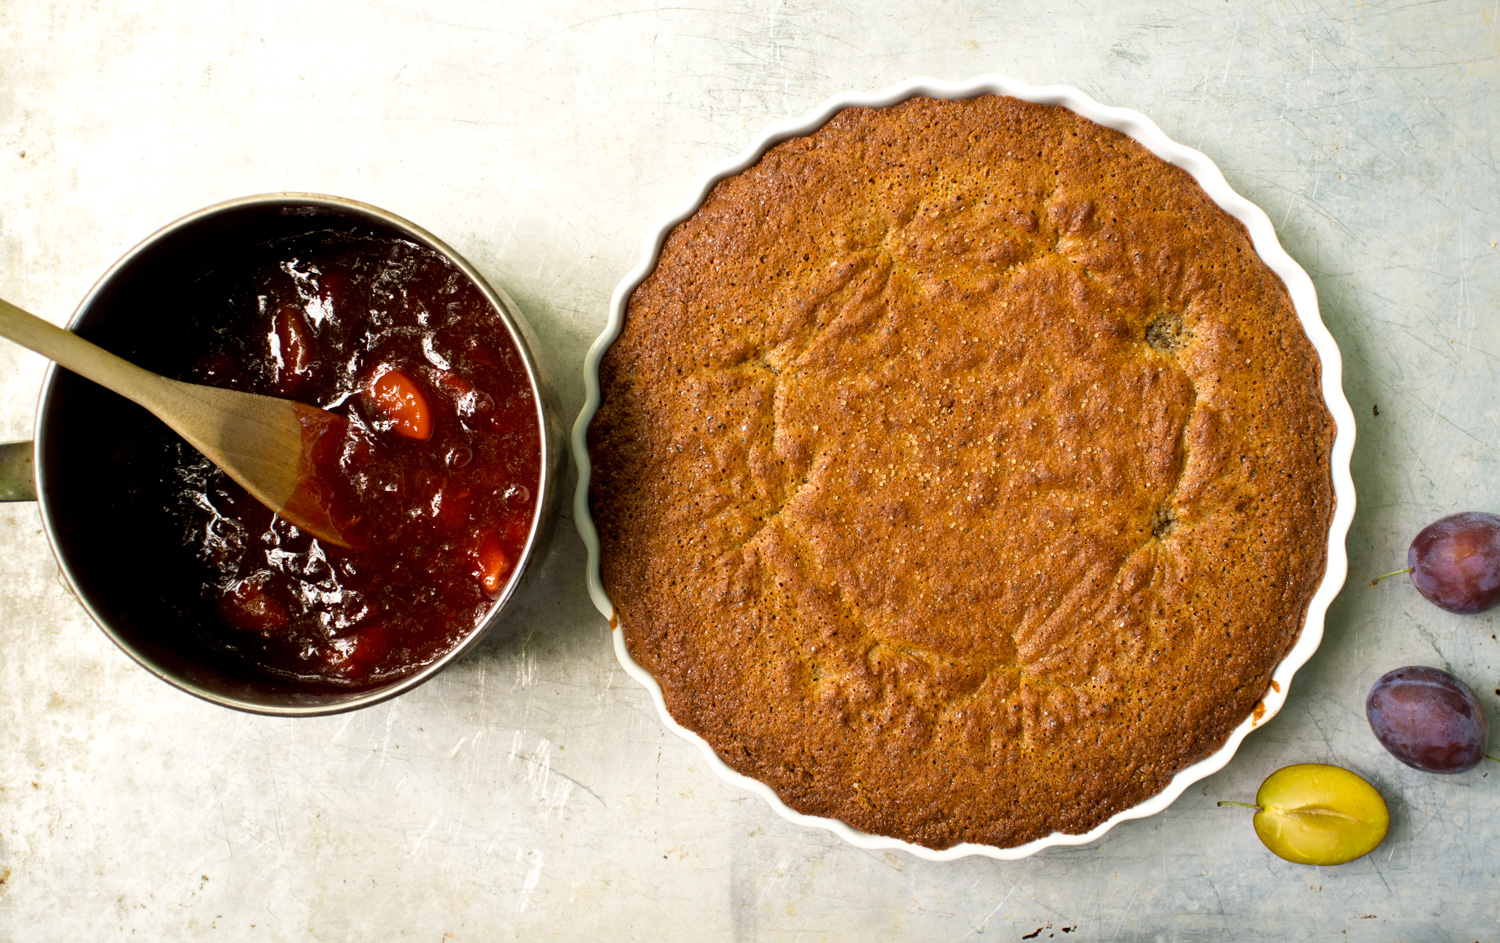
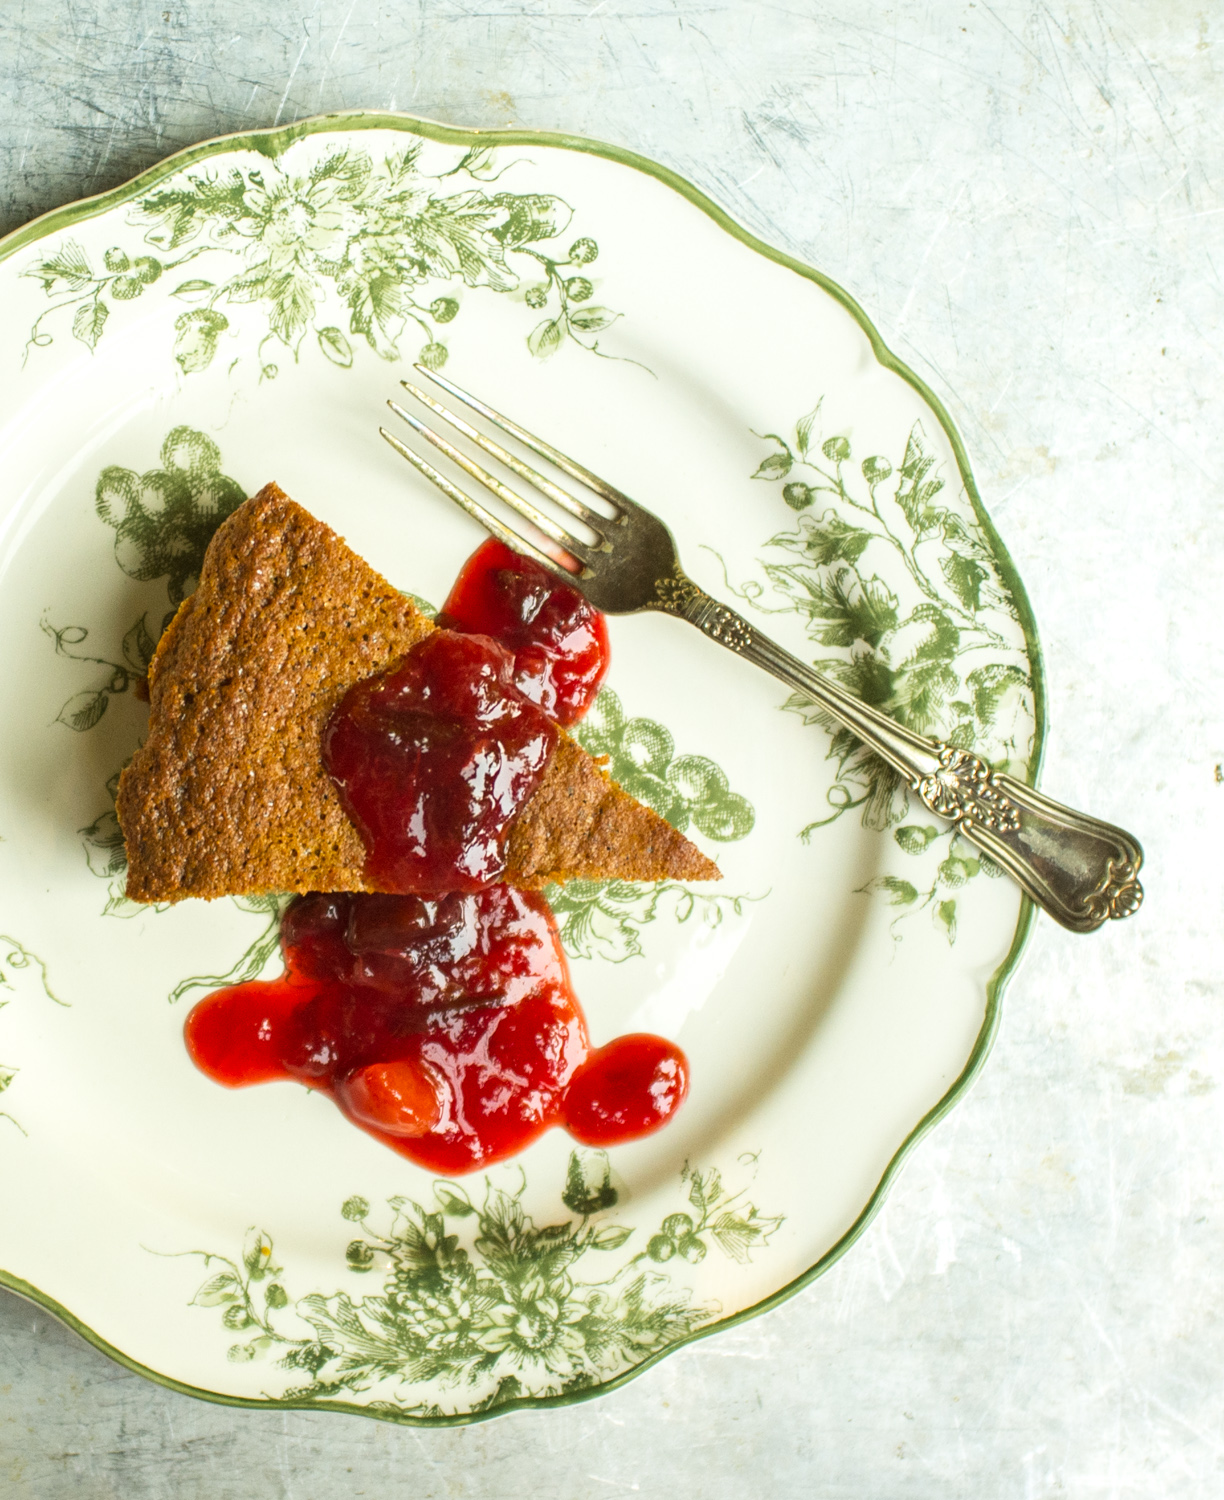
Honey Cake with Plums and Plum Compote
This recipe makes 1 10-inch round cake and will serve 8.
Ingredients for the Plum Cake
8 tablespoons melted coconut oil, slightly cooled
½ cup honey
6 eggs
1 tsp vanilla extract
1 cup almond flour, packed
1/2 cup gluten free flour, packed or buckwheat
1 tsp salt
1 tsp baking soda
6 to 8 plums, cut in half, pits removed
Directions for the Plum Cake
1. Preheat oven to 325 degrees.
2. Grease cake pan with some coconut oil. I used a 10 in round pan.
3. In large bowl combing the eggs, cooled coconut oil, vanilla and honey. Mix well.
4. Add the flours, salt and baking soda, stir until combined.
5. Pour into a greased 10 - inch round cake pan.
6. Top with the sliced plums. (The plums will sink to the bottom of the pan while in the oven).
7. Bake for 30 - 35 minutes, or until golden brown.
8. Let cool before serving and serve with the warm compote.
Ingredients for the Plum Compote:
10 plums, sliced and pitted
1/3 cup honey, the amount of honey you use depends on how sweet or sour the plums are. Taste and add more honey if needed.
1 tsp vanilla
pinch of salt
splash of balsamic vinegar
1/4 cup water
Directions for the Plum Compote
1. Combine plums, water and honey in a saucepan. Bring to a low boil.
2. Add vanilla, a splash of balsamic vinegar and a pinch of salt.
3. Stir over low heat until plums are very tender and compote thickens, stirring often and tasting to see if more honey is needed.
4. Cook for about 20 minutes until or until plums are soft and have started to break apart. Remove from heat and let cool.
5. To serve slice cake and top with the plum compote. You can serve the compote warm or at room temperature.
Cooks Notes
Any leftover compote store in an airtight container for up to one week.
I have tested this recipe using both gluten free flour and buckwheat flour, the cake in the photo is made with buckwheat flour.
If the compote seems a bit to thin after it has cooked, it will thicken as it cools.